

What is a visa invitation letter?
When a friend or relative applies for a visitor visa, the embassy or consulate often wants to hear from the person they are visiting. A visa invitation letter (also called a letter of invitation) tells the visa officer who you are, who you are inviting and why, when they will arrive and leave, where they will stay and who is paying.
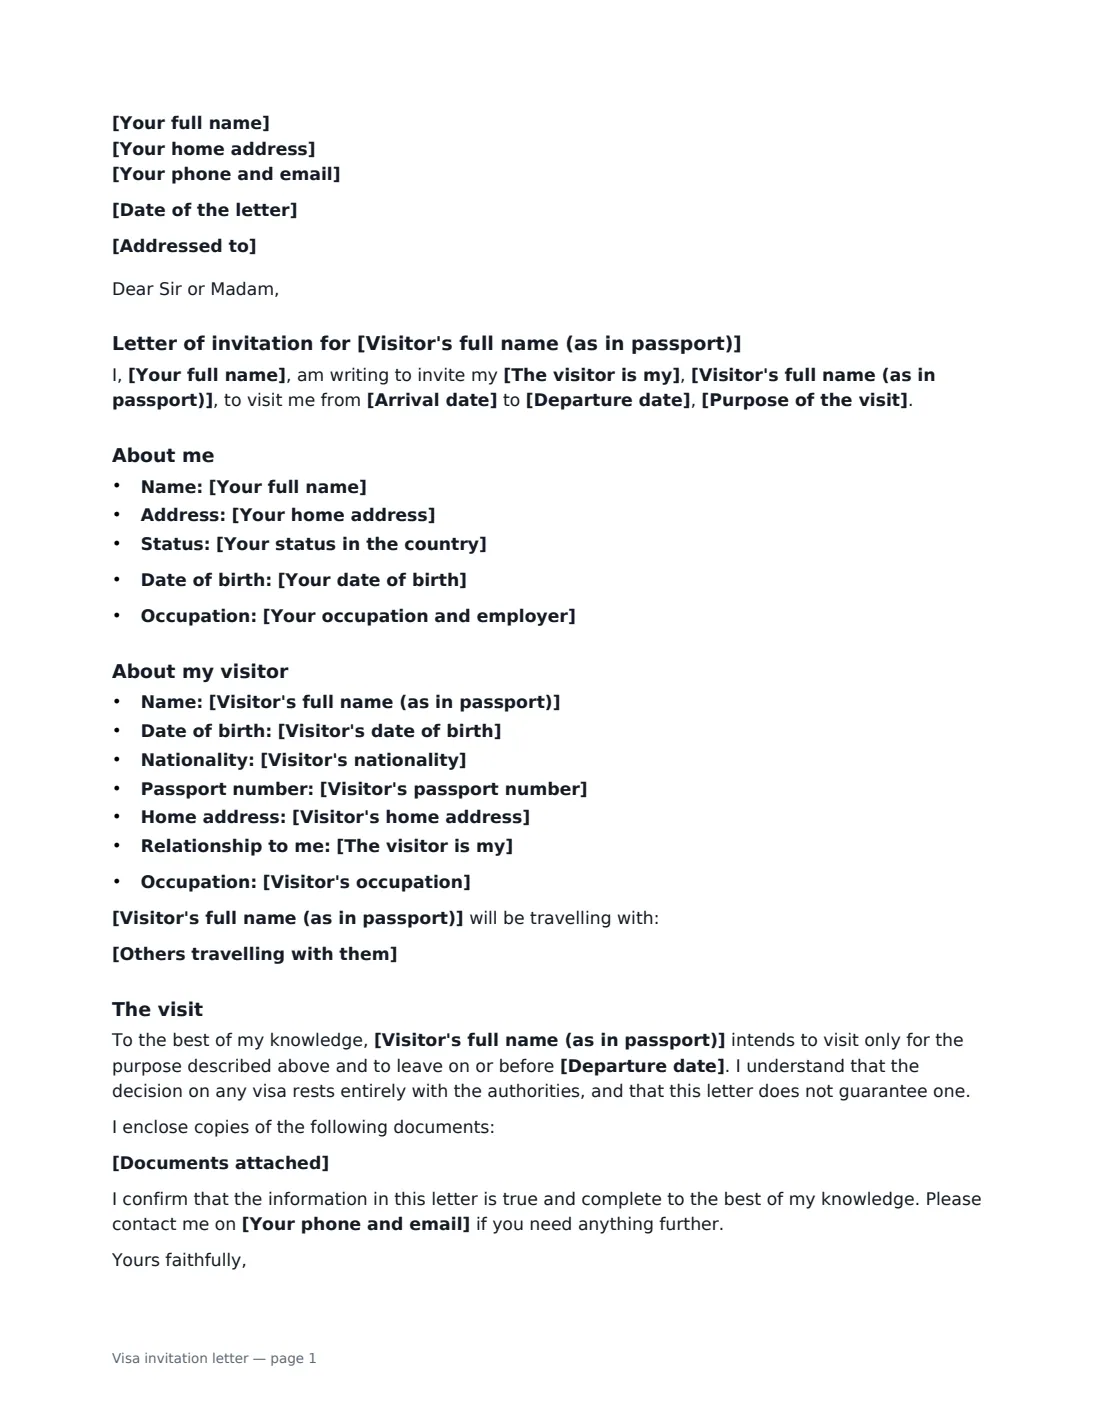
This template produces a clear letter from you as the host, addressed to the visa office or "To whom it may concern". It lists your details (name, address, status in the country, and optionally your date of birth and occupation) and the visitor's (name as in their passport, date of birth, nationality, passport number, home address, occupation and relationship to you), and anyone travelling with them. It states the purpose and dates of the visit, whether the visitor stays with you free of charge or elsewhere, and which of three cost arrangements applies. It confirms that, to your knowledge, the visitor intends to leave by the departure date, that the decision rests with the authorities, and that the information is true — with an optional list of documents you are enclosing.
Visa rules differ by country. Some require an official invitation form, or a letter that is notarised or registered with local authorities — always check the official guidance for the country being visited.
- Best for
- Visitor and tourist visa applications for family and friends
- Signed by
- The host (the person being visited)
- Covers
- Host and visitor details, purpose, dates, accommodation, who pays, enclosures
- Length
- 1–2 pages
When to Use a visa invitation letter
- Parents visiting a son or daughter who lives abroad
- Relatives coming for a wedding, birth or graduation
- A friend visiting for a holiday and staying with you
- A family group travelling together, with each traveller listed
- A student or worker abroad inviting family on a visit
What You Fill In
23 blanks, then the name and email of each person who signs: host.
1 The letter
- Date of the letter*
- Addressed to
2 You (the host)
- Your full name*
- Your date of birth
- Your home address*
- Your phone and email*
- Your status in the country*
- Your occupation and employer
3 The visitor
- Visitor's full name (as in passport)*
- Visitor's date of birth*
- Visitor's nationality*
- Visitor's passport number*
- Visitor's home address*
- Visitor's occupation
- The visitor is my*
- Others travelling with them
4 The visit
- Purpose of the visit*
- Arrival date*
- Departure date*
- Where they will stay* At my home · Somewhere else
- Other accommodation (if not your home)
- Who pays for the visit* I will provide accommodation and meals; the visitor pays for travel · I will pay for the visitor's travel, accommodation and living costs · The visitor will pay for their own travel and living costs
- Documents attached
5 Who signs
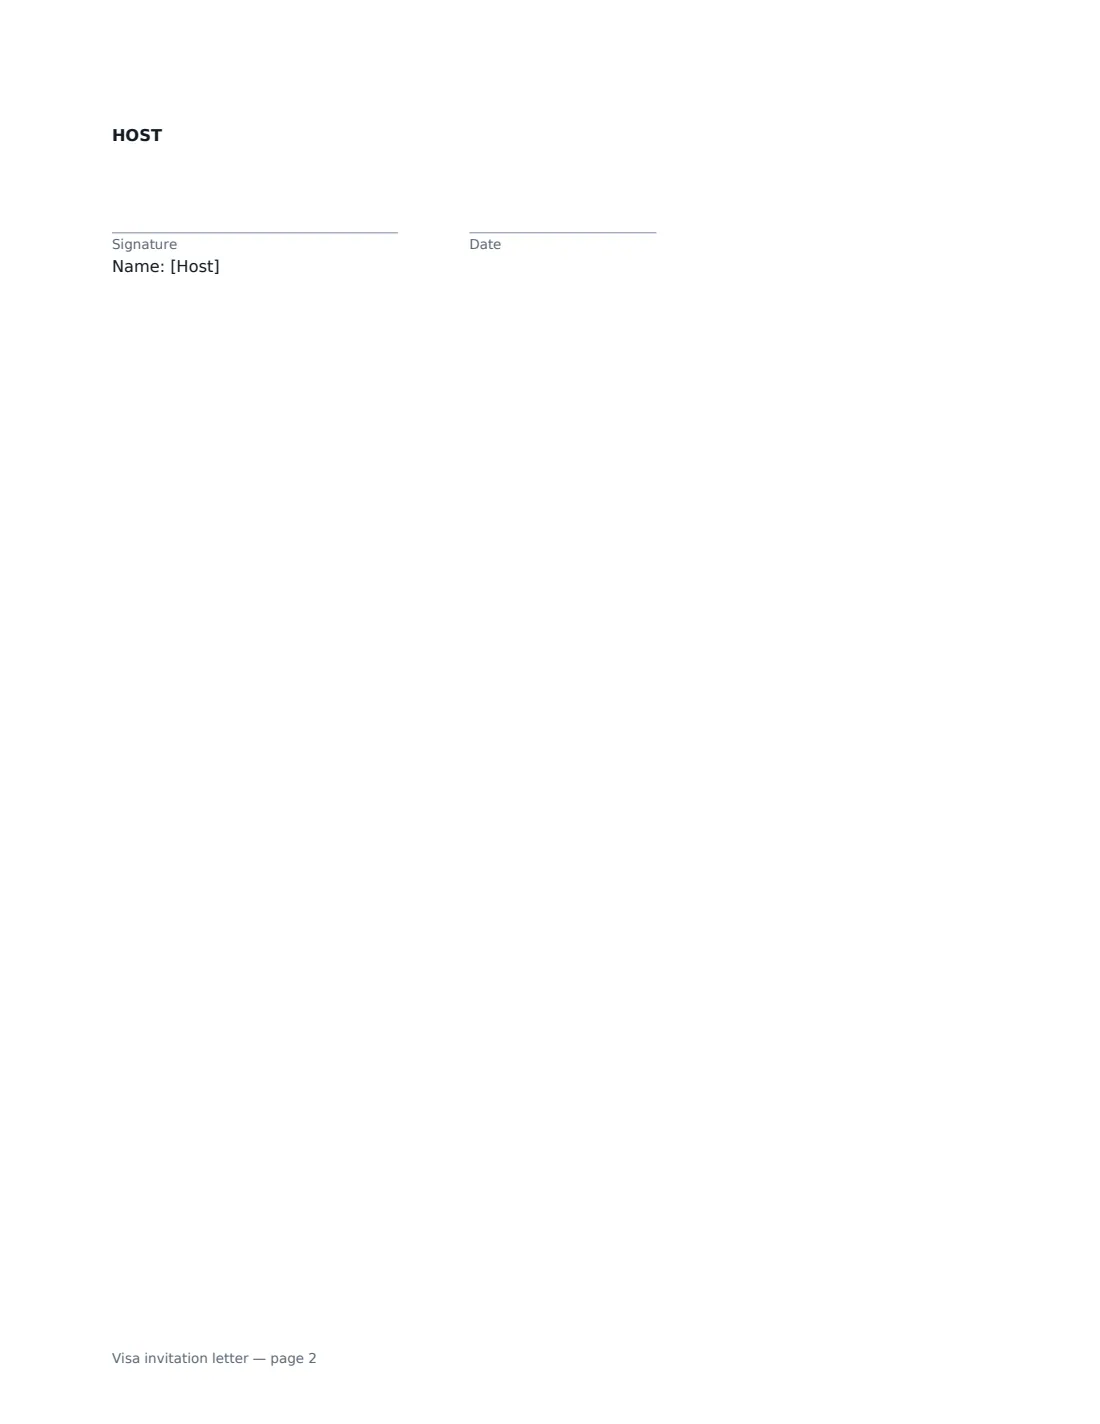
- Host signature and date · The person inviting the visitor. They sign to confirm the details are true.
What the visa invitation letter Covers
- About me
- About my visitor
- The visit
Using the visa invitation letter, step by step
1 Check the official requirements
Look at the visa guidance for the country being visited. If the visa office has its own invitation form, or needs the letter notarised or registered, follow that. Otherwise enter the visa section's name and address, or leave it for "To whom it may concern".
2 Enter your details and status
Give your name, address and contact details, and your status — for example a citizen, permanent resident, or a student with a permit valid until a given date. Add your occupation and date of birth if the visa office asks for them.
3 Enter the visitor's details exactly
Use the visitor's name and passport number exactly as they appear in the passport. List anyone travelling with them, one per line.
4 Describe the visit
State the purpose honestly and specifically, the arrival and departure dates, where they will stay and who is paying. If you are paying, list the proof you are enclosing, such as bank statements. Then sign and send the PDF to your visitor.
Tips Before You Send It
- Make the dates match the visitor's application and flight bookings exactly.
- Be truthful about the purpose. Visitor visas generally do not allow work, and inconsistencies can lead to refusal.
- If you say you will pay, include evidence you can — recent bank statements or an employment letter.
- Include a copy of your passport or residence permit and proof of your address if the guidance asks for them.
Sign It Online In Minutes
- Fill in the blanks. Names, dates and amounts go straight into the agreement — the preview shows exactly where.
- Name who signs. Tick “This is me” for your own part. VergeHR builds the PDF with every signature, date box on the right line, and you can check or move anything before sending.
- Send it. Each signer gets a secure link and signs from any device — no account needed. The signed PDF, with an audit trail and a Certificate of Completion, is filed in Files and emailed to everyone.
Visa invitation letter: frequently asked questions
Does an invitation letter guarantee a visa?
No. The letter supports the application, but the decision rests entirely with the immigration authorities — and the letter says so.
Do I have to pay for my visitor?
No. Choose whether you provide accommodation and meals, pay for everything, or the visitor pays their own way. Be accurate — the visa officer may ask for proof.
Does the letter need to be notarised?
It depends on the country. Most accept a signed letter, but some require a notarised letter or their own official form. Check the guidance for the country being visited.
Will an electronically signed letter be accepted?
Many visa offices accept an e-signed or printed copy of an e-signed letter, and electronic signatures are generally valid in the US (ESIGN Act and UETA), the UK, the EU (eIDAS) and Canada. Some immigration processes insist on wet ink or notarisation, so check first.
Is this template free?
Yes. The template is free to use with the eSignature app in VergeHR.